How to Get an iPhone SE for ¥1
 Pancake
•
•
5 min read
Pancake
•
•
5 min read
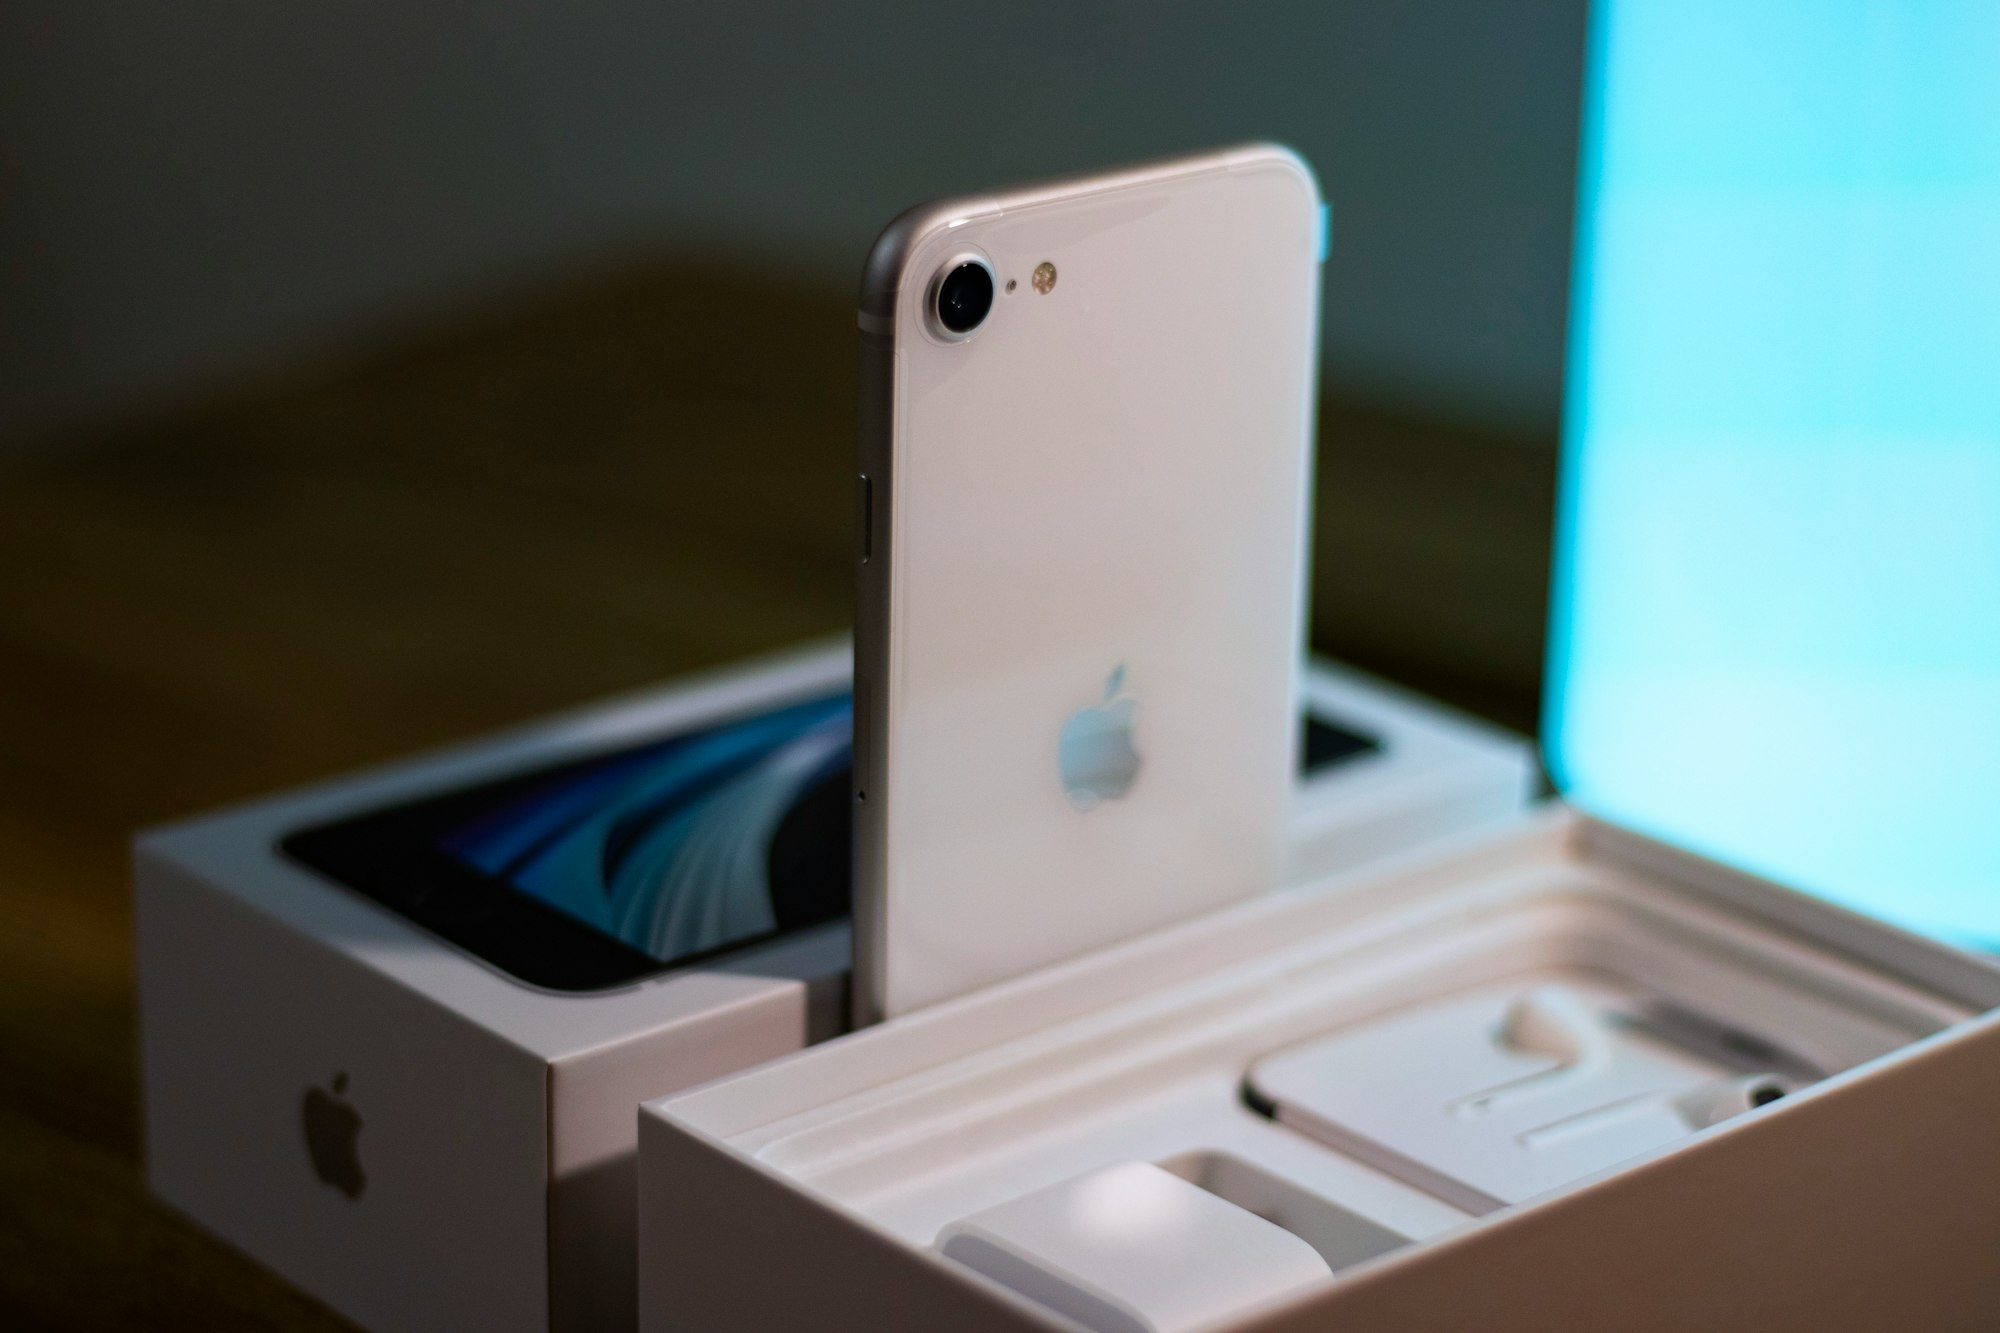
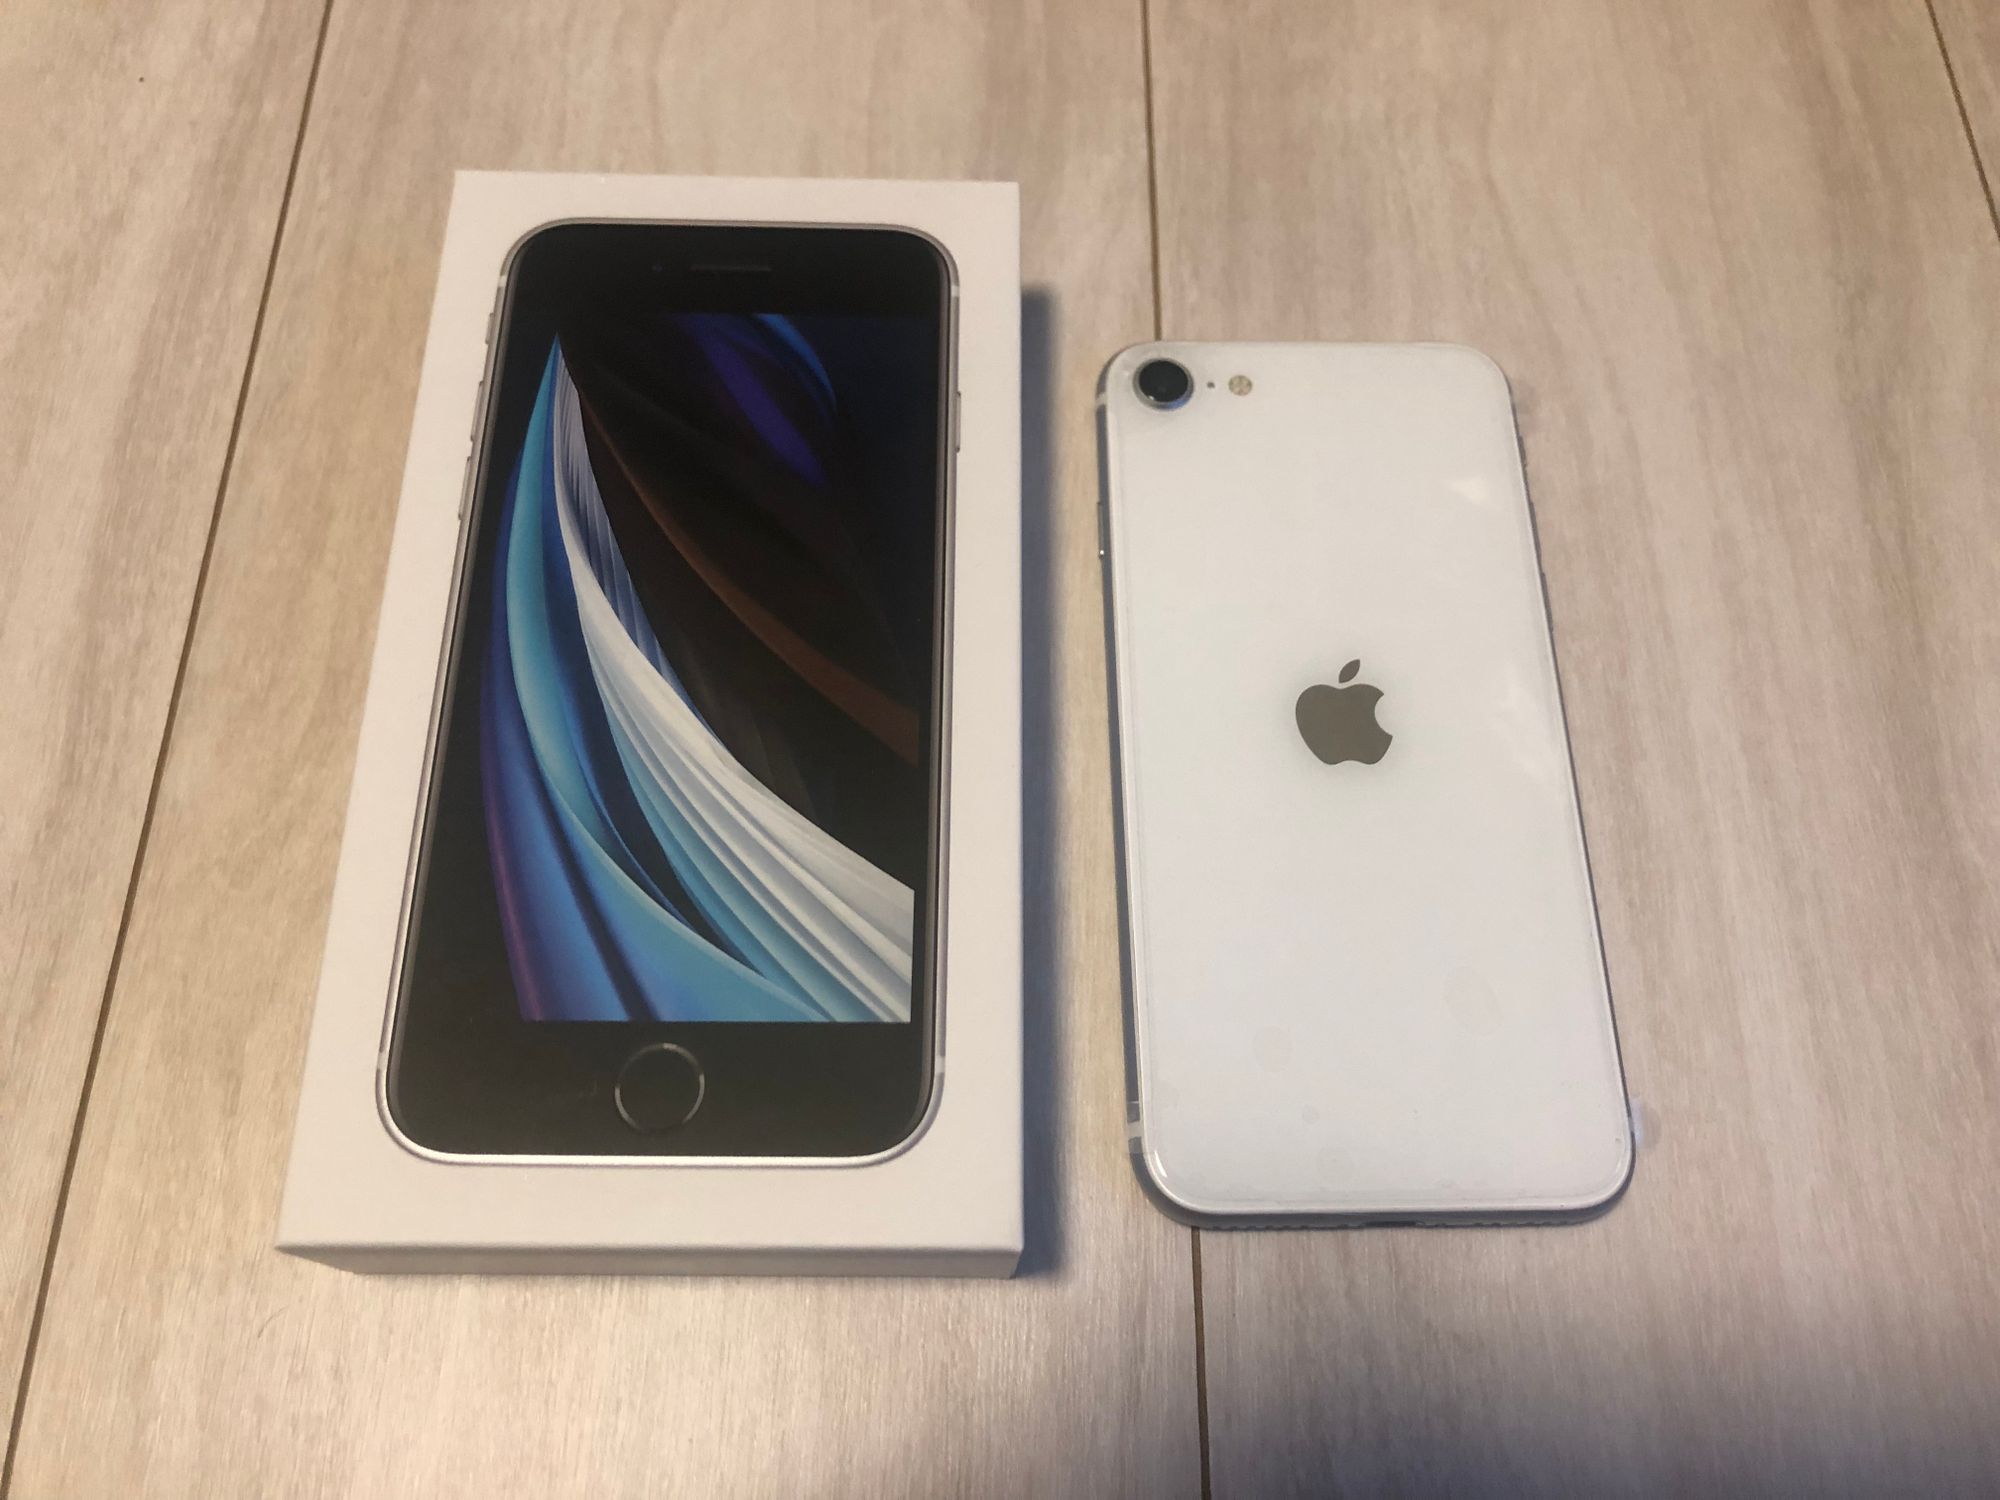
So, word on the street is you can get an iPhone SE (2020, 2nd generation) for only ¥1. Since Tako's iPhone 7 could not last a day on a single charge, we tried to get one.
¥1? What's the catch?
No doubt, getting an iPhone for ¥1 is pretty much impossible these days. In order to purchase an iPhone for ¥1, you'll need to transfer your phone number to a new carrier (also known as MNP).
MNP
MNP is short for Mobile Number Portability. It allows one to switch to different mobile carriers while keeping your phone number. It also means that you'll need to change your current phone plan to a new one.
Okay, any other hidden charges?
Well yes...
An admin fee (事務手数料) of ¥3,000 is charged upon signing up for a new plan. The admin fee will be charged together with your first month's phone bill.
I still want an iPhone, how do I get one myself?
Admittedly, getting the promotion is a very long and tedious process. I wouldn't recommend it to everyone but if you still want one then read on...
Step 1: Getting an MNP reservation number
In order to perform an MNP, you'll need to obtain an MNP reservation number (MNP予約番号). The method of getting one varies between mobile carriers, so do a quick Google search ("[carrier name] MNP予約番号") to find out how. With most carriers, you can get one from their website. Note that some carriers will take a couple of days to issue an MNP reservation number, so it is recommended that you do this as soon as possible.
💡 An MNP reservation number lasts for 2 weeks. You'll need to complete the carrier switch before it expires.
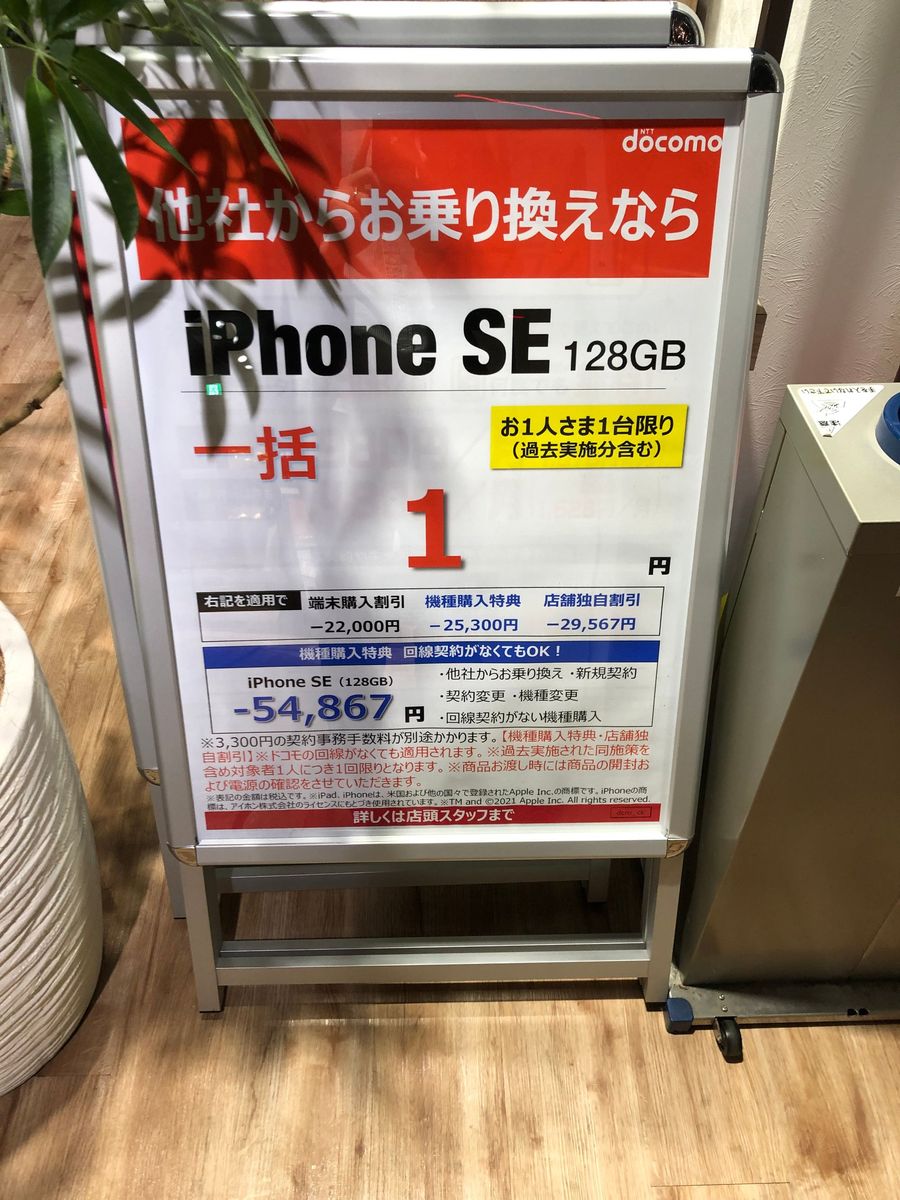
Step 2: Look around for the ¥1 promotion
This promotion is not available in all phone shops, so you'll need to do some searching. Start with phone shops in your neighbourhood and look out for posters that say "iPhone SE 一括 1円". You'll also need to make sure that the phone shop is not the same as your current carrier, as you can't MNP to the same carrier.
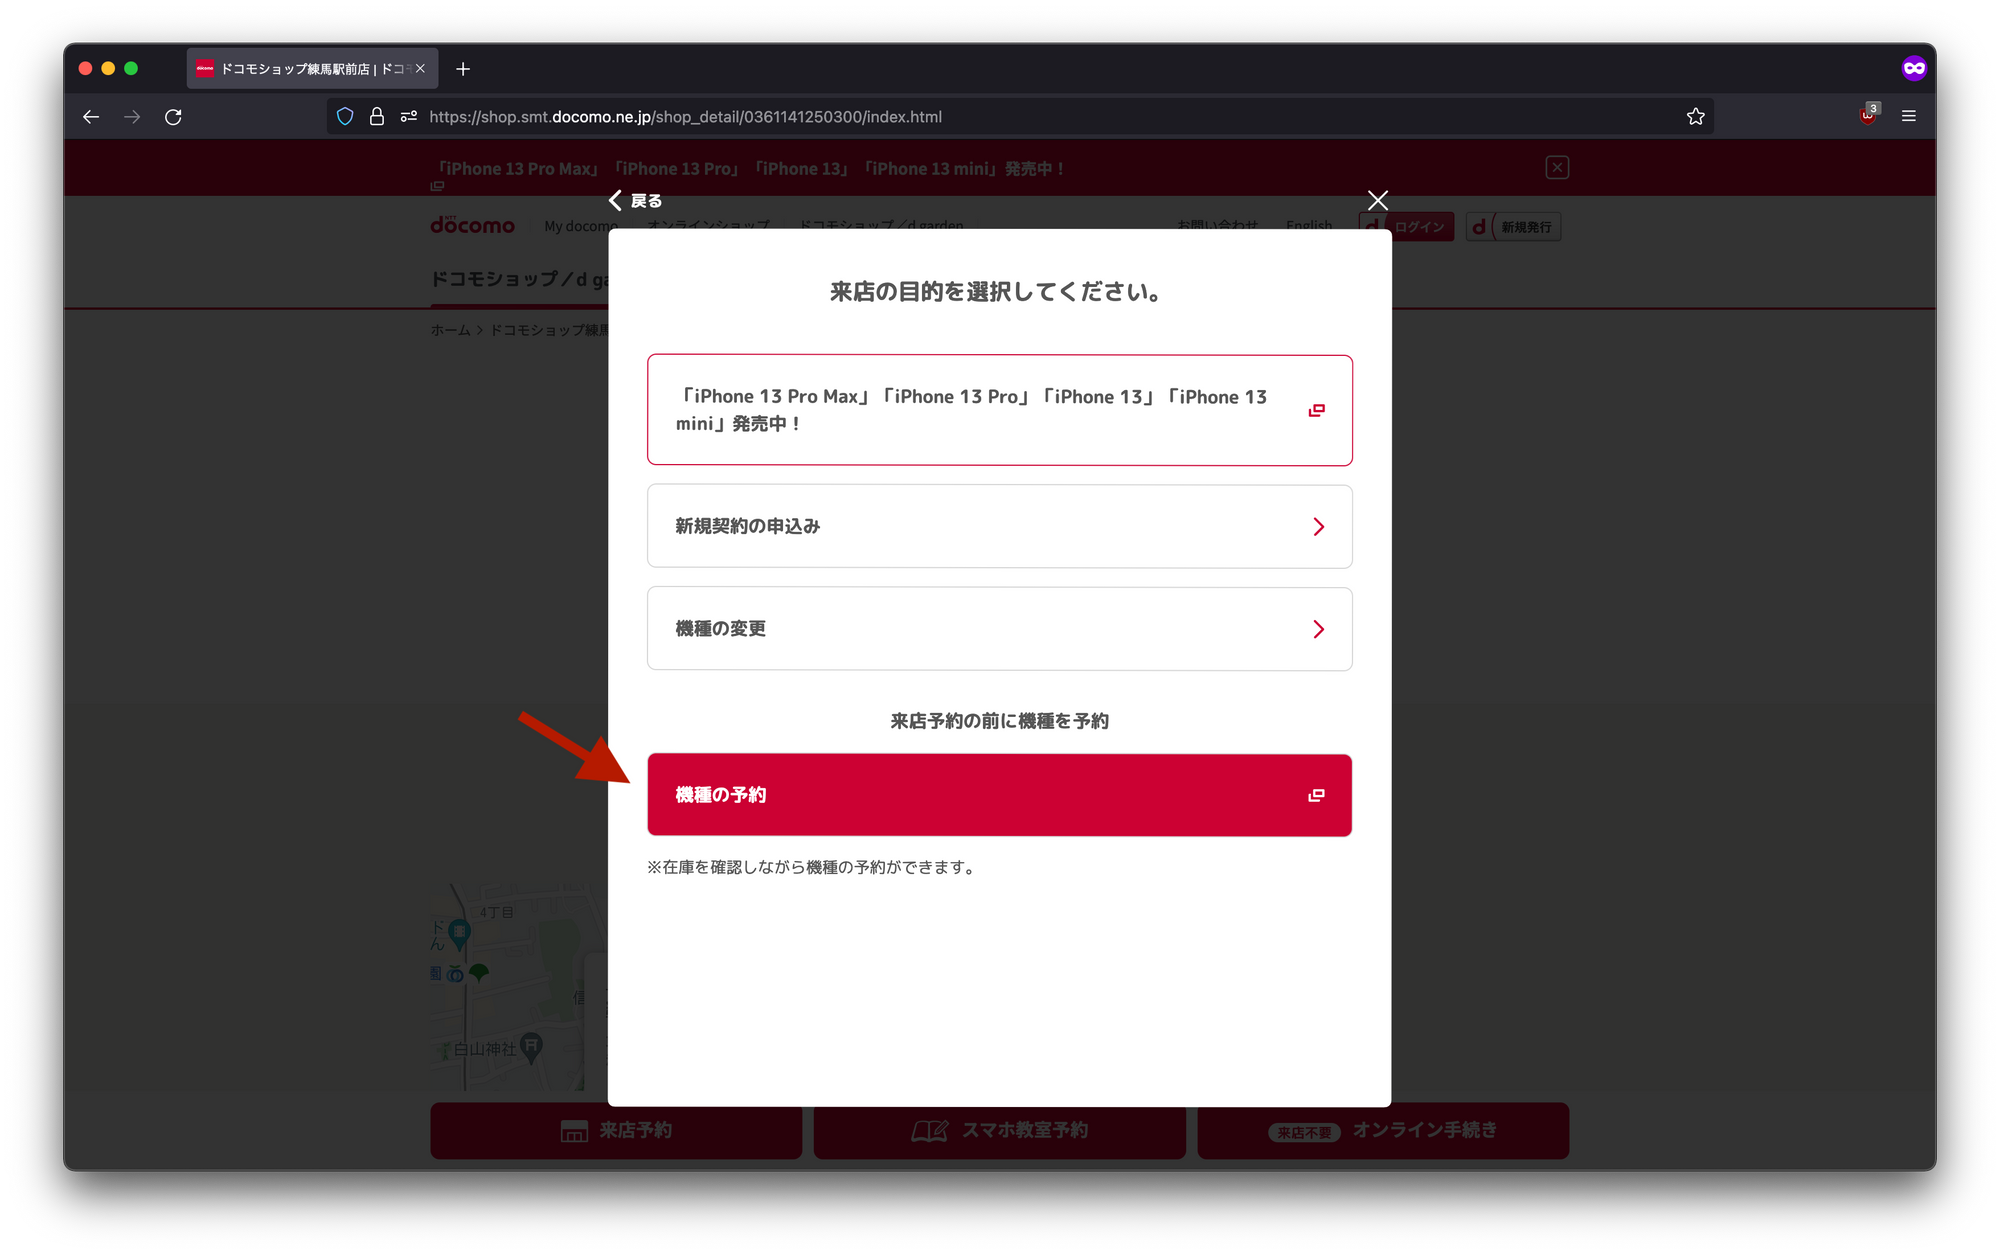
Step 3: (Optional) Make a reservation
Due to the pandemic, shops may limit the number of people entering the shop to prevent overcrowding. Moreover, the campaign is pretty popular and a lot of shops do not have it in stock. Hence, it is recommended that you get a reservation.
You could still try your luck by walking in to ask whether they still have any left. If there is none in stock, you could ask them to reserve one and notify you when it is available.
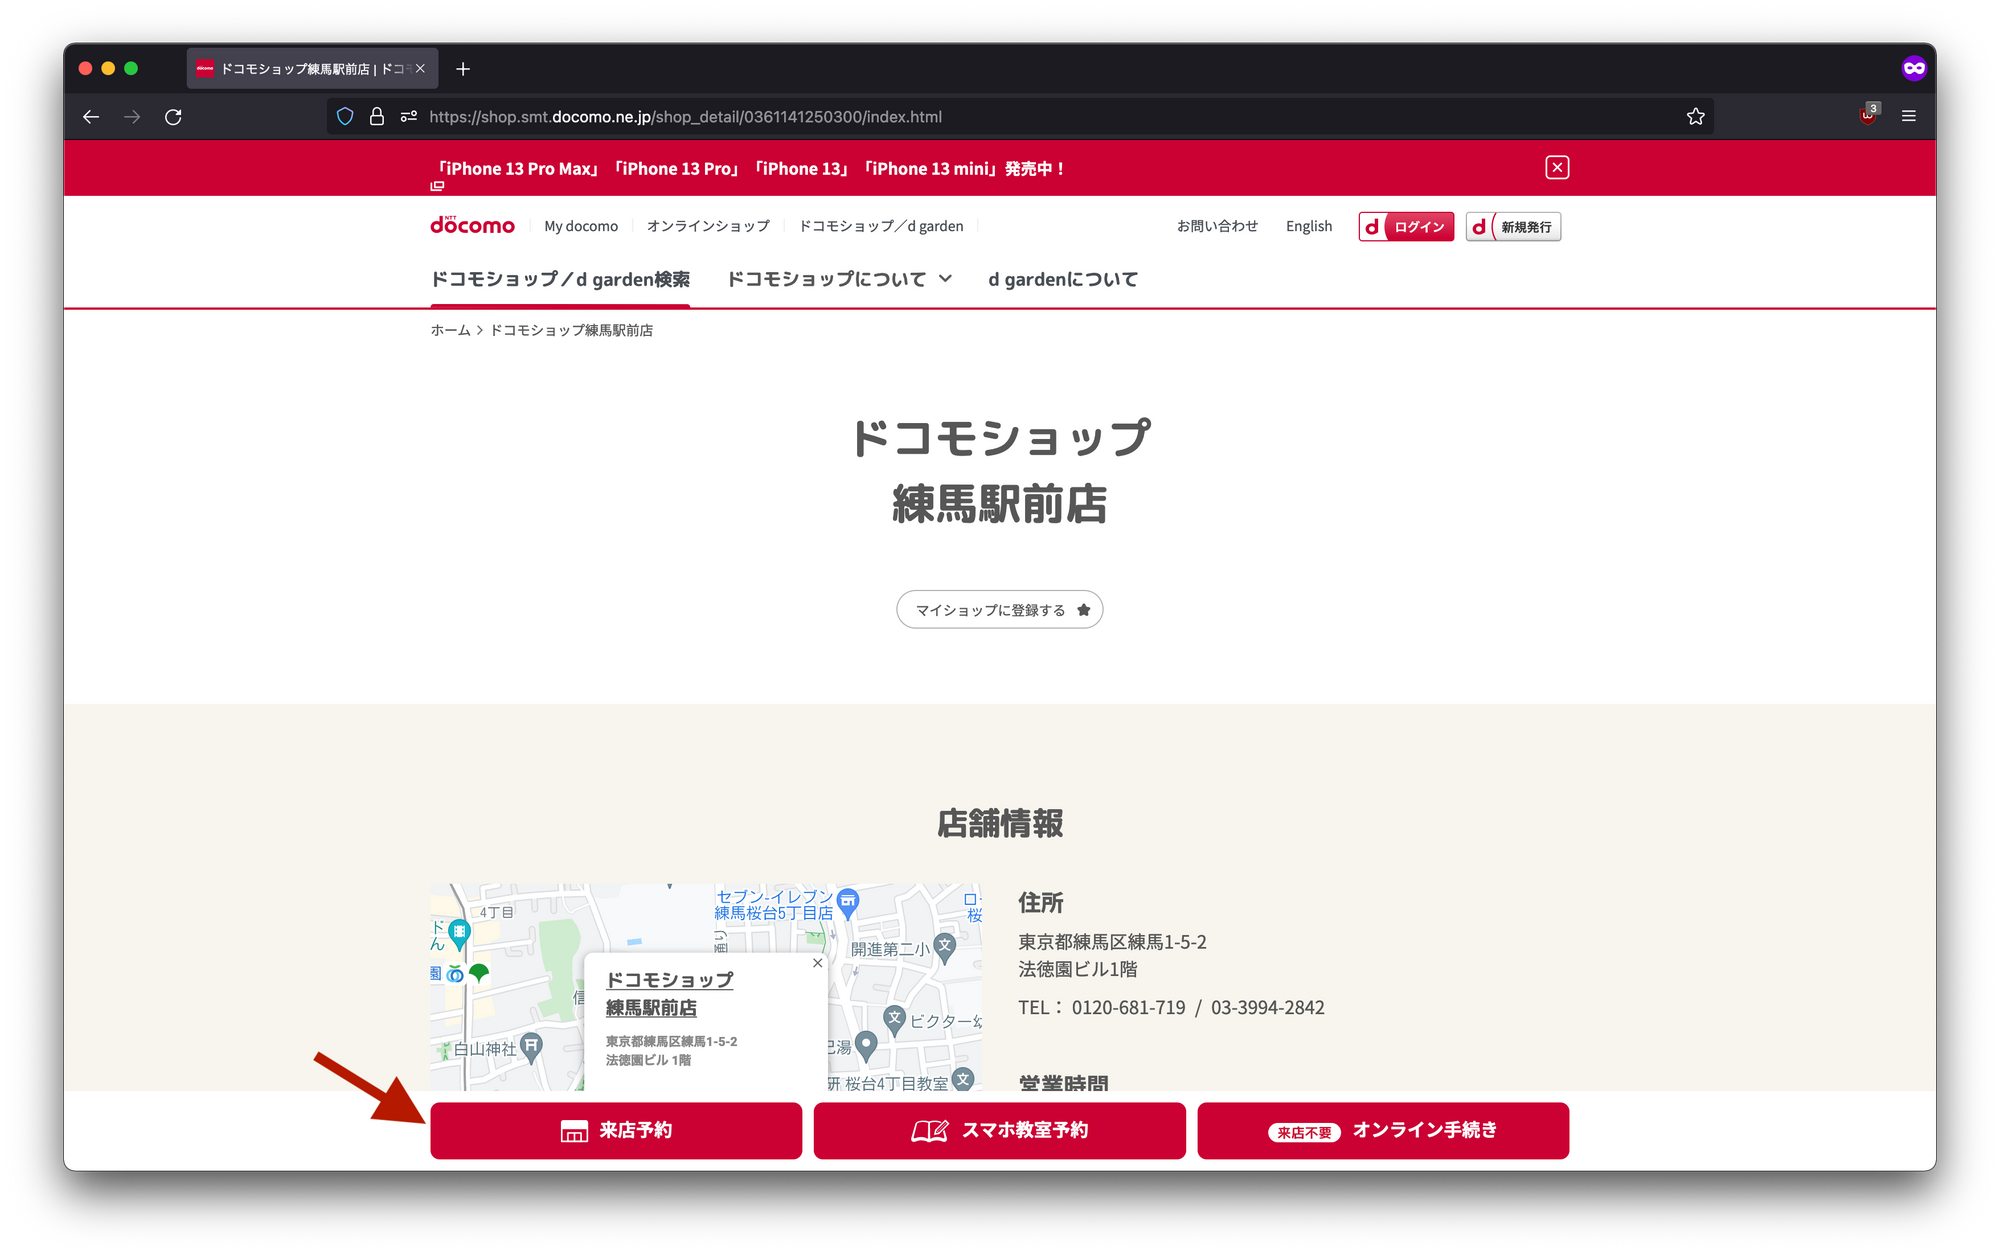
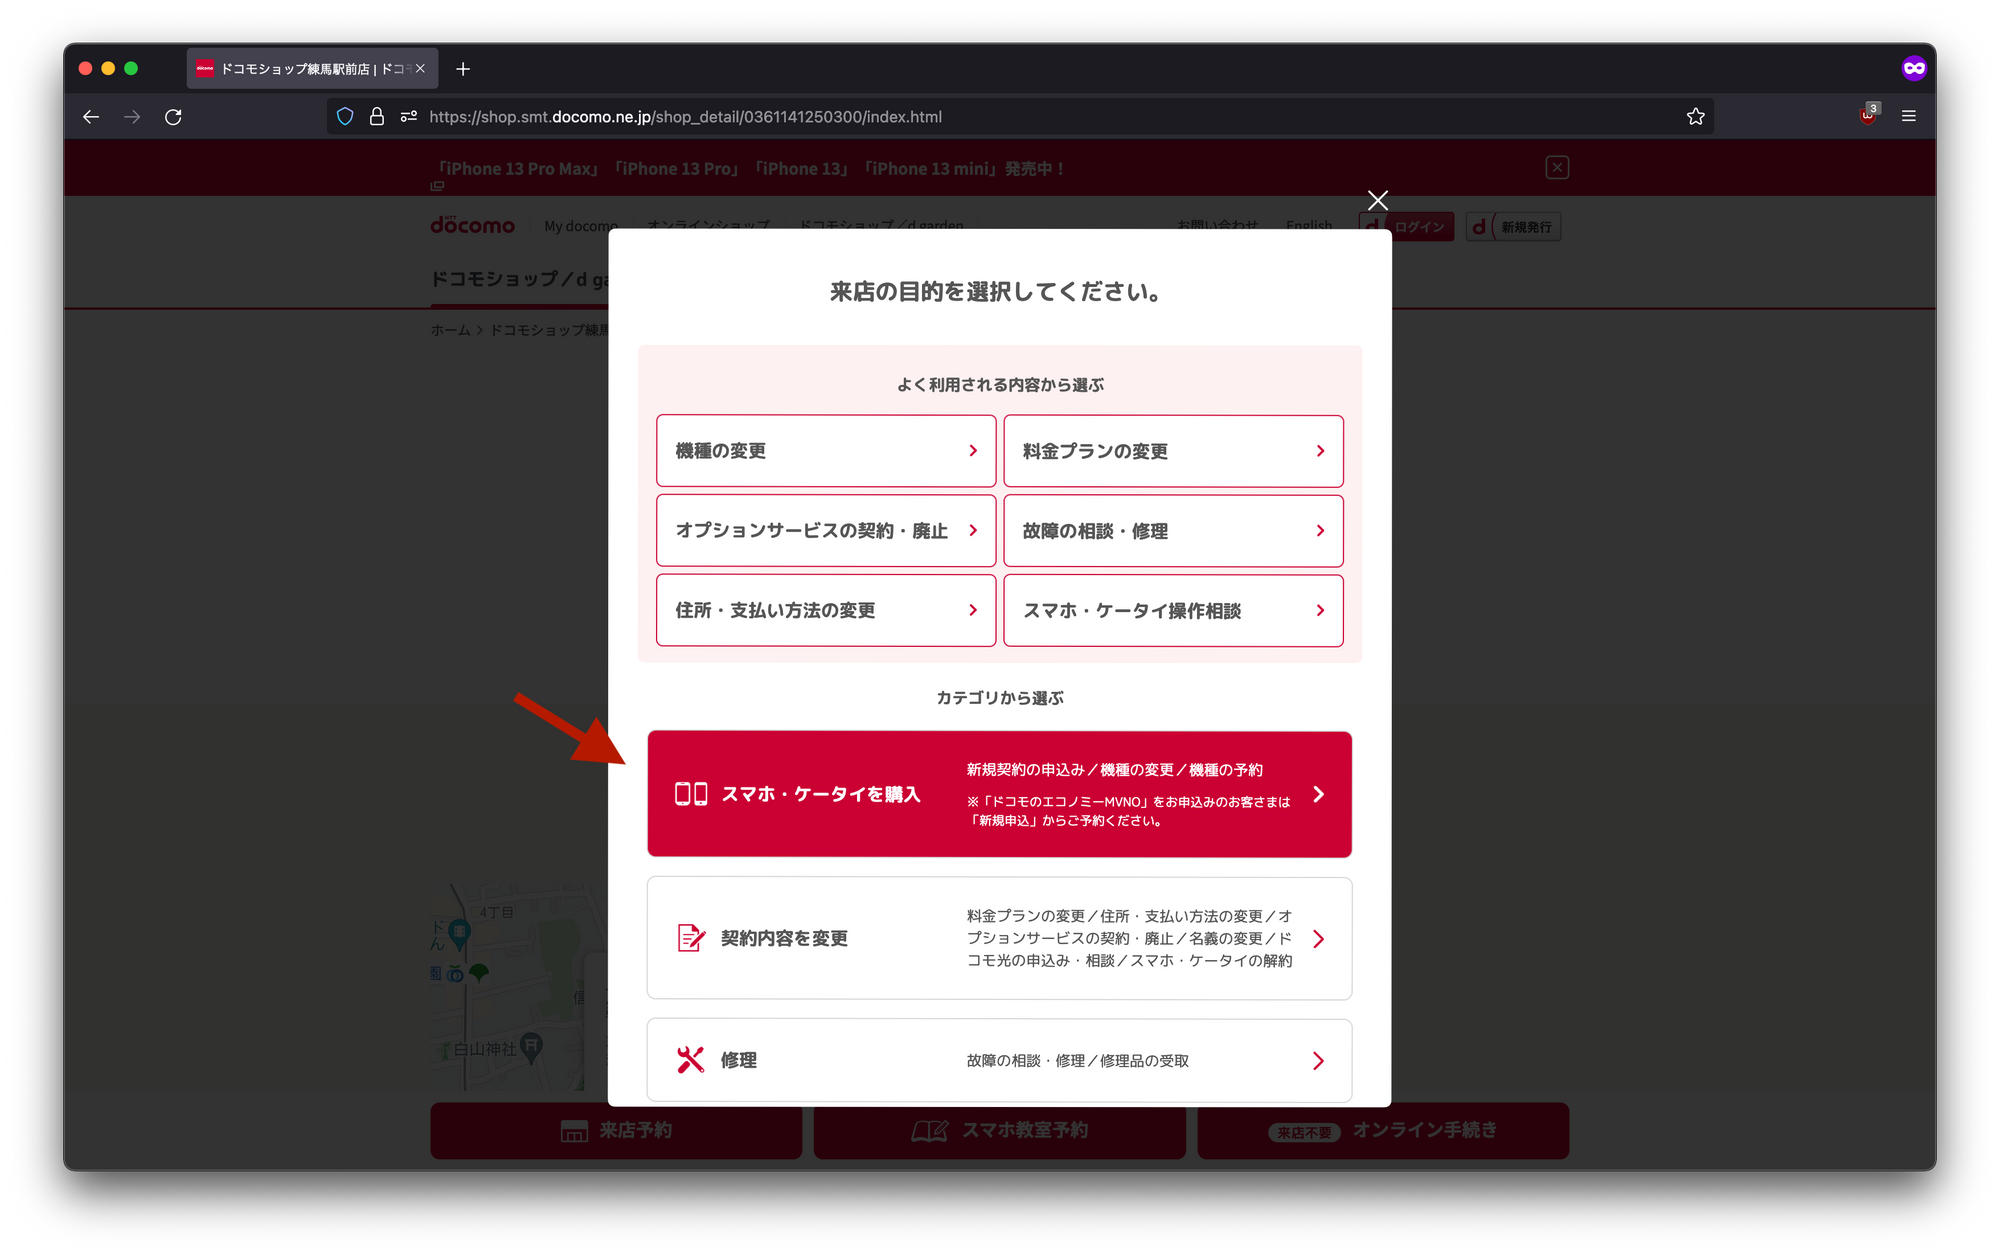
Some carriers may allow you to make a reservation online. For instance, docomo allows you to make a reservation for the device of your choice.
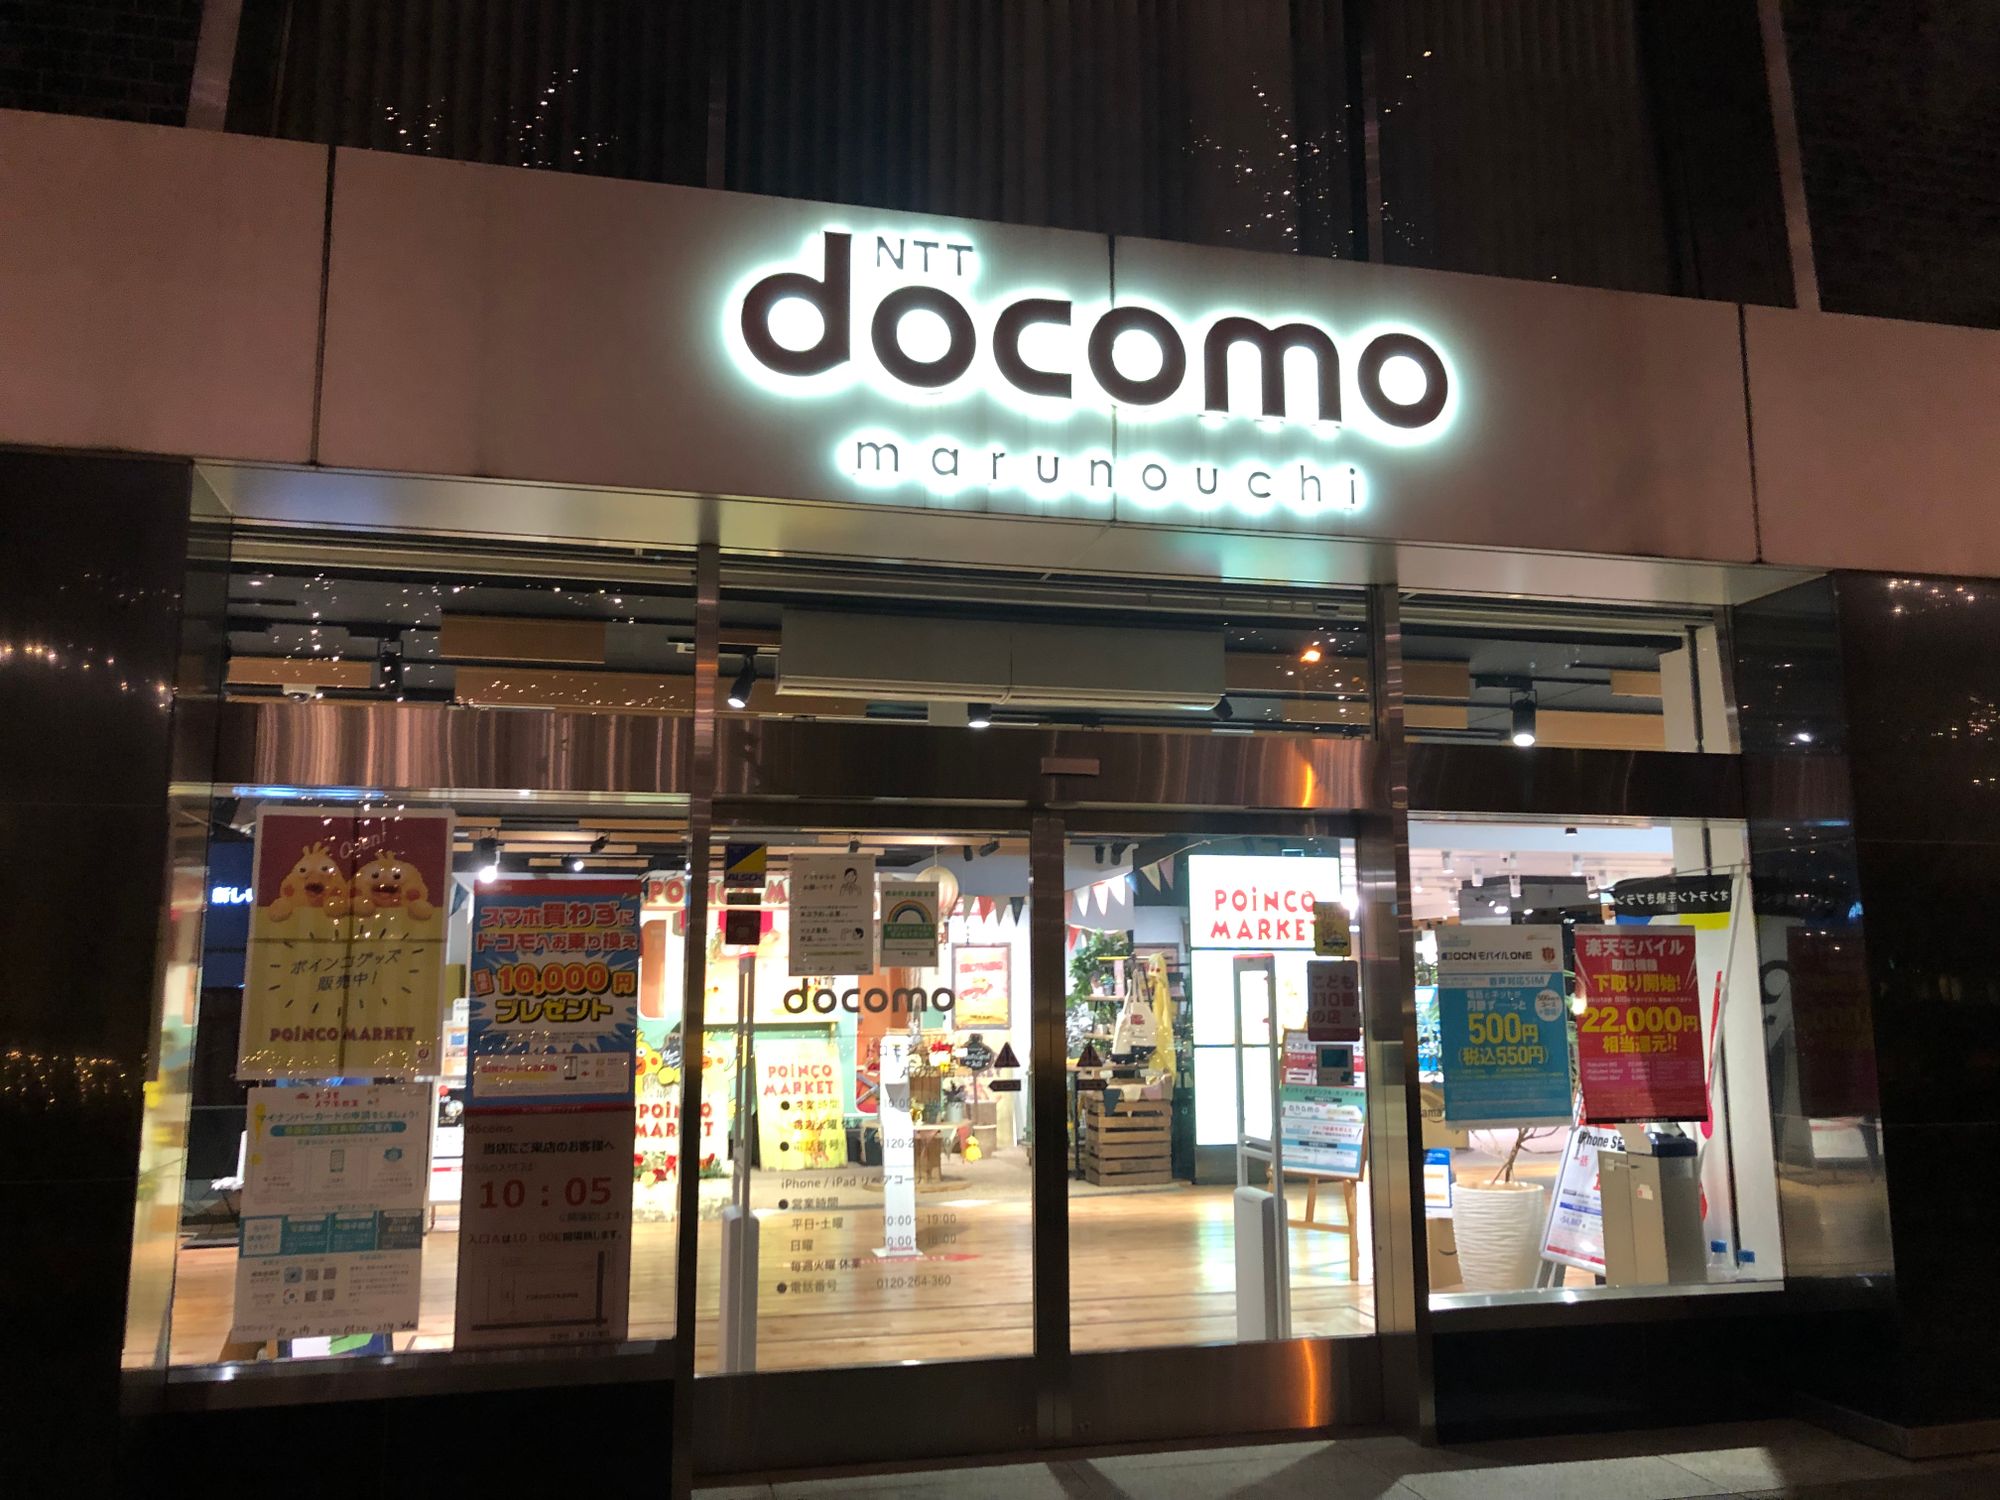
Step 4: Head to the shop
Head towards the shop. Don't forget to bring along a photo ID (residence card, driver's license etc.). Also, phone plans are billed monthly via credit card or bank account direct debit. If you plan to pay using credit card, bring along the credit card. If you want to go with bank account direct debit, bring along your ATM card or bank passbook. Last but not least, bring ¥1 to pay for the phone.
For us, the whole process took around 3 hours. Be sure to allocate at least this much time as there might be delays due to technical difficulties...
Step 5: Pick a plan
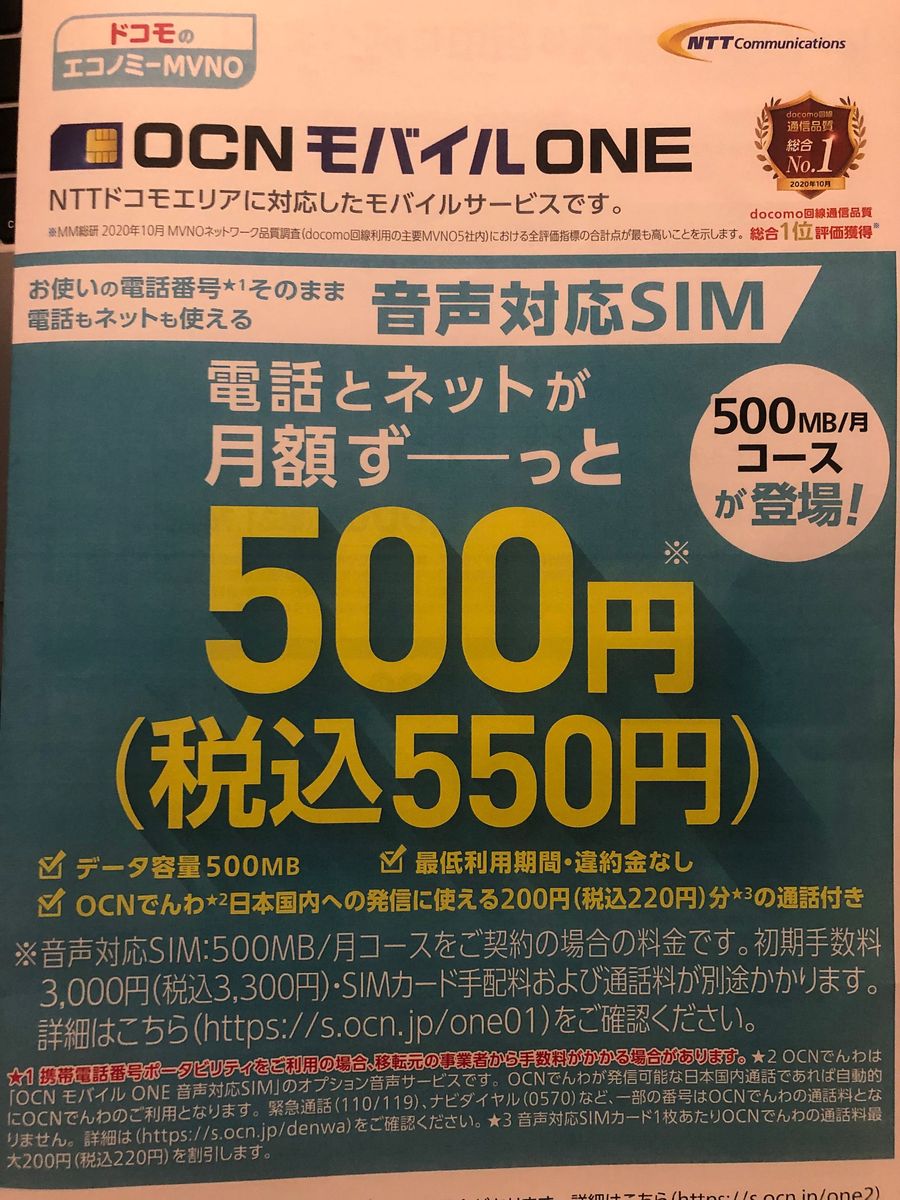
The staff in store would probably explain what plans are available to sign up. Pick one that suits you the best. If you're a cheapskate like me, I highly recommend going with docomo's Economy MVNO plan.
What is MVNO?
MVNO is short for mobile virtual network operator. MVNO are mobile carriers that do not own any infrastructure, and instead piggyback on existing big carrier's network. MVNO generally offer phone plans for a relatively low price, however speeds may be reduced during peak hours or in crowded areas.
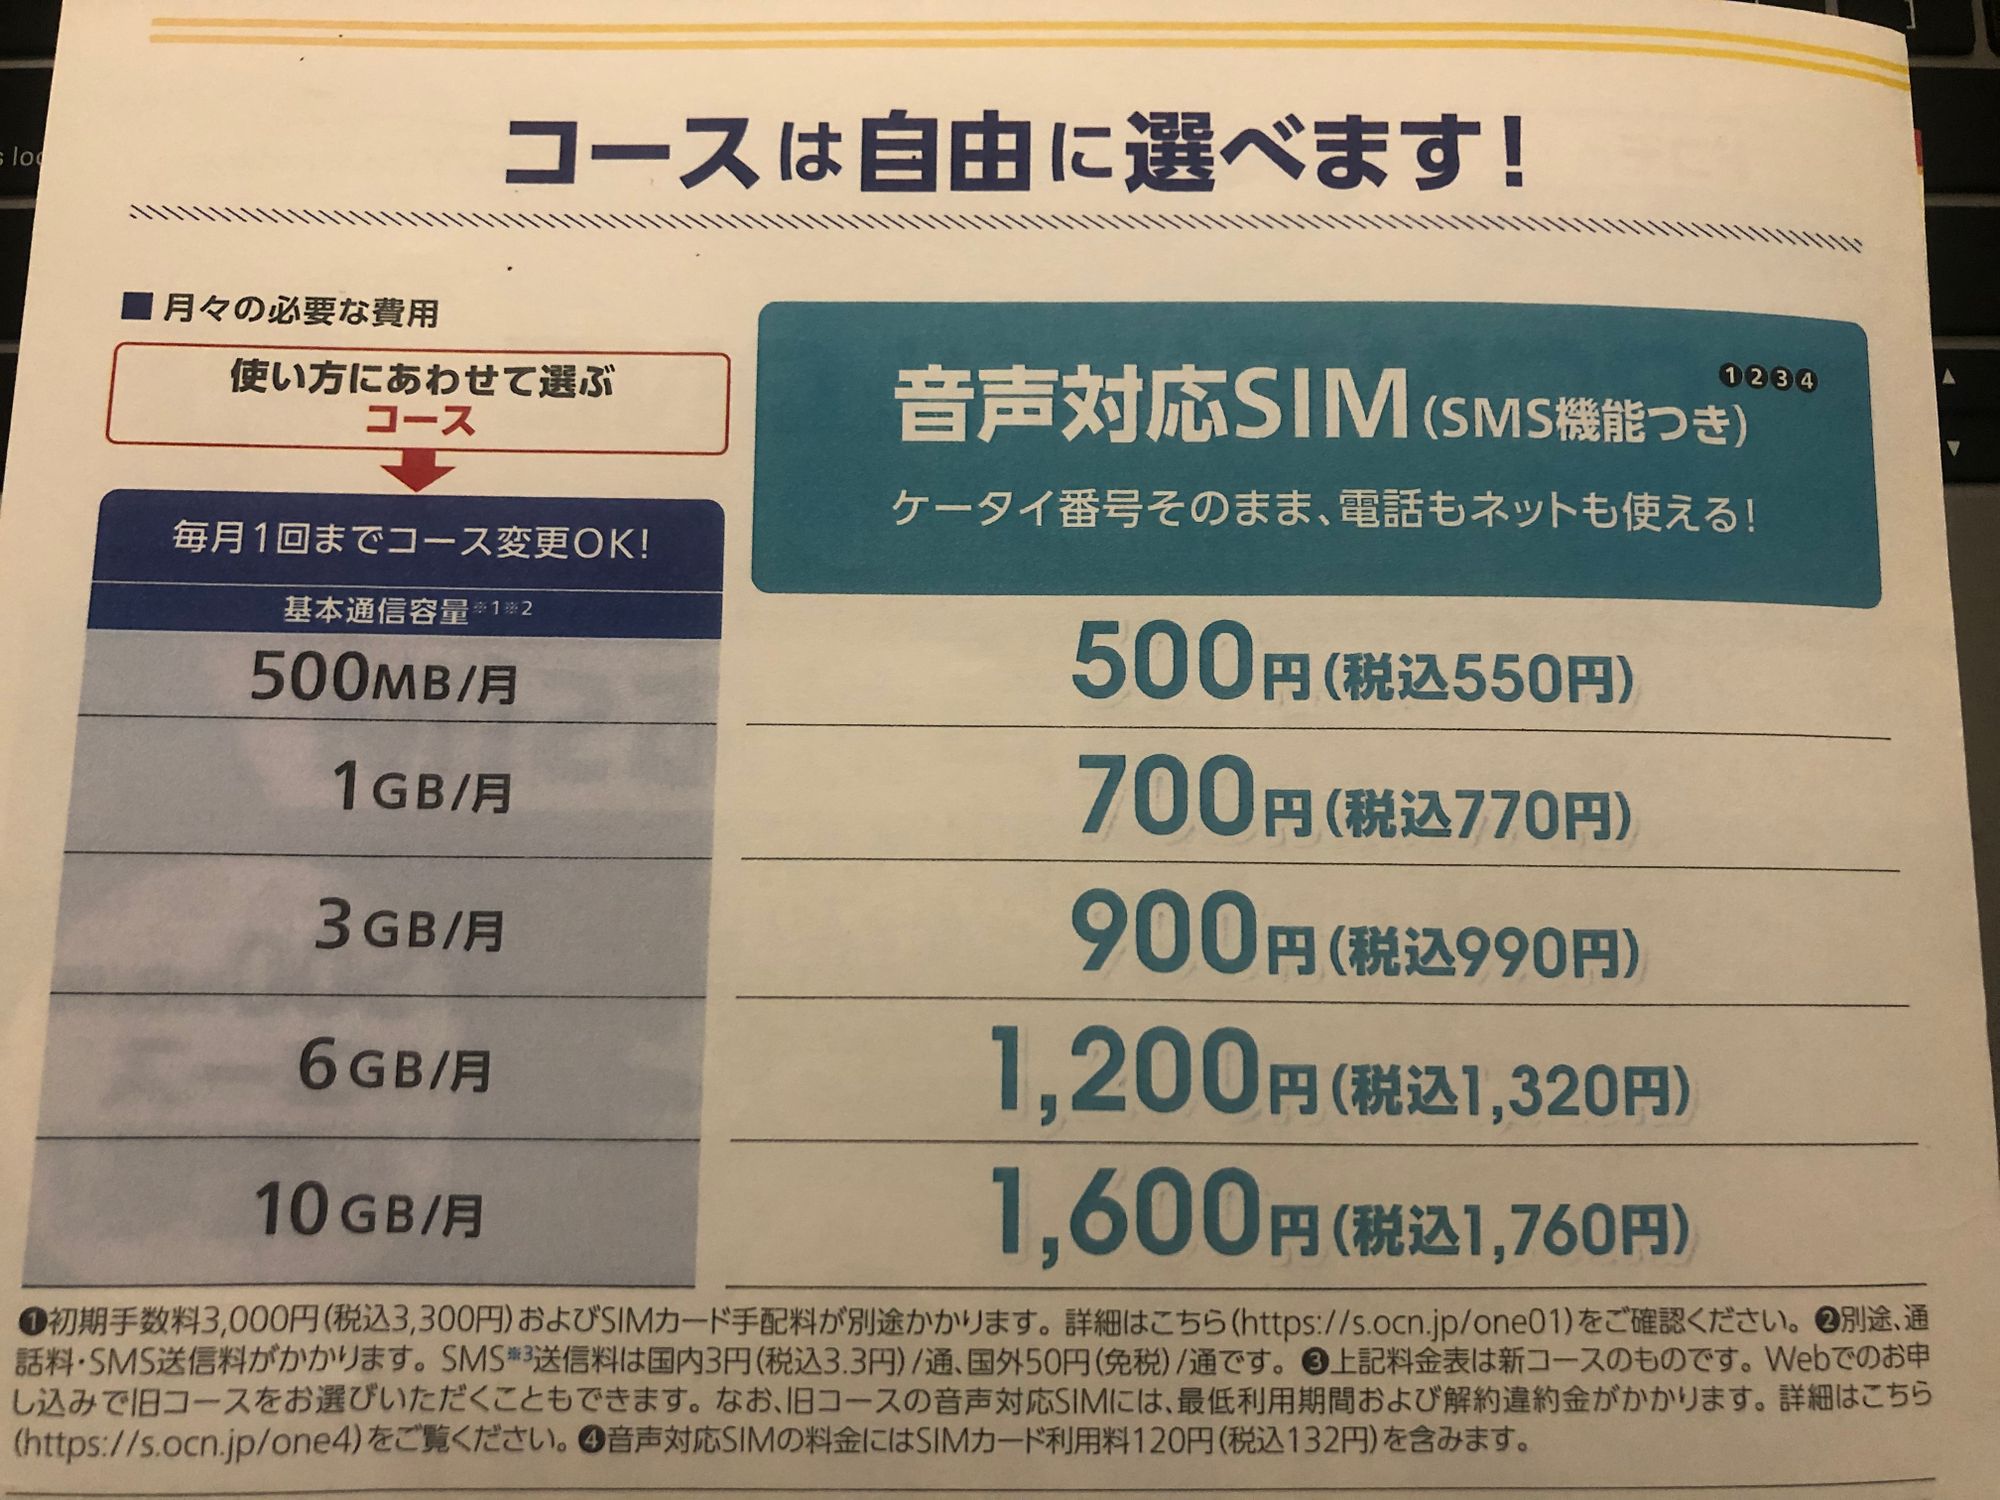
docomo's Economy MVNO plan is powered by OCN Mobile One, which shares the same parent company as docomo. I recommend the 3GB plan for a good balance between price and data allowance.
If for some reason you can't switch to OCN Mobile One (like us), I recommend switching to docomo's Giga Lite plan and then immediately transfer to ahamo, which offers 5 minute calls + 20GB for ¥2,970/month.
Step 5: Paperwork
This part is the most tiring so you might want to prepare yourself. The staff will explain the paperwork and also things that you'll need to be aware of. It involves a lot of difficult Japanese terms, so I recommend bringing a Japanese speaking friend along to help if you're not confident navigating through the paperwork.
Step 6: Payment
After the application has been approved, the staff will ask for payment. Bring out your finest 1 yen coin and complete the payment.
Step 7: Collect the phone and paperwork
After payment has been completed, the staff will unbox the phone. Inspect the phone and ensure the phone is in good condition. You may start setting up your phone but I recommend doing it later.
💡 You could request for them not to unbox the phone, but there's a high chance they may refuse your request. This is to prevent these phones from being resold.
After the paperwork has been completed, the staff will also hand over the paperwork containing the contract details. I recommend keeping them in case you need them in the future.
Step 8: Enjoy
At this point you're done! Enjoy your brand new phone! 🥞
PS. Have a look at the FAQ if you have any questions.