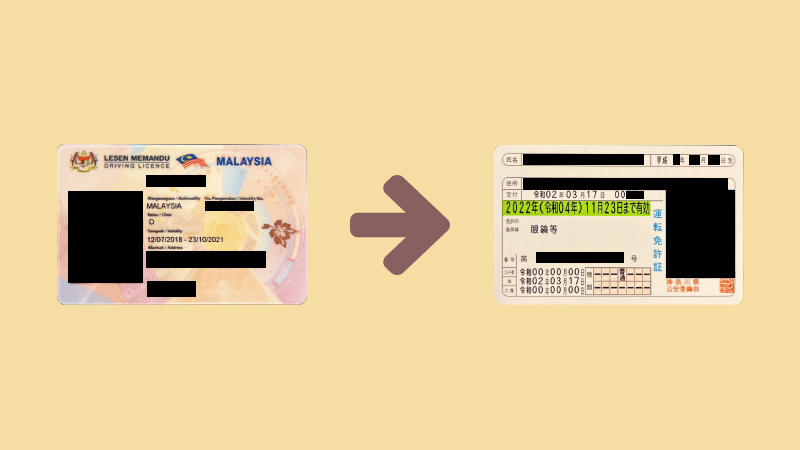
How to Convert Malaysian Driving License to Japanese Driver's License
 Pancake
•
•
7 min read
Pancake
•
•
7 min read
While Japan is well known for its reliable public transport, there are times that I wished that I could drive in Japan. After living here for 6 years I finally took the plunge and obtained a Japanese driver's license. Ever since obtaining my Japanese License I've put it to good use, such as moving heavy goods and traveling (a great alternative to avoid crowds).
Step 1: Prepare your documents
Here are the documents that you need to convert your license:
- Valid Malaysian Driving License
- A translation of your Malaysian Driving License
- International Driving Permit (if you have one)
- Passport (if you renewed your passport since coming to Japan, bring the old ones too if you still have them)
- Proof that you had your Malaysian Driving License while in Malaysia for at least 3 months
- Certificate of Residence (住民票 Juuminhyou)with your nationality stated and issued within 6 months; obtainable at your ward office
- Residence Card (在留カード)
- One 3cm x 2.4cm passport photo taken within 6 months
- Eyeglasses (if you have one)
- Cash (bring at least ¥5,000)
Most of these are pretty straight forward, but here's some detailed information regarding certain documents:
Malaysian Driving License Translation
The Japanese Automotive Federation (JAF) offers translation services for ¥4,000. You'll need to submit a copy of your Malaysian Driving License along with an application form by mail.
Alternatively, if you're cheap/broke like me and have plenty of time, you may get a translated license from the Malaysian embassy for only ¥200. You will need the following documents:
- Malaysian Driving License (original + copy)
- Passport (original + copy)
- Malaysian IC (original + copy)
- Extract of Driving License from JPJ (yes, you'll need to go back to Malaysia for this one)
You'll need to submit these documents in person to the embassy. You can get the translation on the same day or the following business day.
Proof that you had your Malaysian Driving License while in Malaysia for at least 3 months
This is somewhat vague, but you would need to prove two things:
- You had a valid license for >3 months before you came to Japan
- You were in Malaysia for >3 months before you came to Japan
You can prove these with your passport and current/old driving license. For point 1, I renewed my license when I went back to Malaysia once, so I had to use my old license. For point 2, a salary slip or graduation certificate/academic translip would do the trick.
Step 2: Study for the Written Test
Fortunately, driving here is very similar to Malaysia, so most rules are the same. However, there are some differences and I recommend reading up on it. JAF has an official English version of the "Rules of the Road" available on Amazon:

Again, if you're cheap like me you can skip the book and refer to free resources from JAF:


This PDF by the ALT/JET community is very useful and includes information such as purchasing a car. I highly recommend reading through it.
Other than reading up on the two free resources, I just take note of traffic signs and road markings while I'm out and about and look them up if I'm not familiar with any of them.
Step 3: Make an appointment
You'll need to call the Driver's License Center (運転免許センター untenmenkyou centre) to make an appointment. Before COVID it was first-come-first-serve so check police website of the prefecture that you are residing in (here's the website for Kanagawa-ken residents).
If you're calling them up, tell them you would like to do a 外免切り替え gaimenkirikae. As far as I know, license conversions are only done on weekdays (excl. public holidays) so you'll need to apply for work leave...
Step 4: Head to the Driver's License Center

Head to the Driver's License Center. If it's on a first-come-first-serve basis definitely go at least 30 minutes before opening. There are only limited slots available each day so if you're too late you'll need to try again another day.
Upon arriving, the staff will confirm that all your documents are in order. If there are no issues, you then fill up the application form and purchase a ¥2,550 revenue stamp and paste it on the application form before submitting it.
Step 5: Eye Test
Typically you'll be chilling at the waiting area until you're called for the eye test. For eye test, they will test short sightedness and color blindness. Don't forget to put on your glasses if you have one.
Step 6: Written Test
After the eye test, you'll need to wait some more until you're called to do the written test. There are several languages that you can do the written test in including English and Japanese. Pick whichever language you're comfortable with. There are 10 questions in total, you'll need to score at least 7/10 to pass. Read the questions carefully as they are quite tricky.
Step 6.5: Pre-practical Test
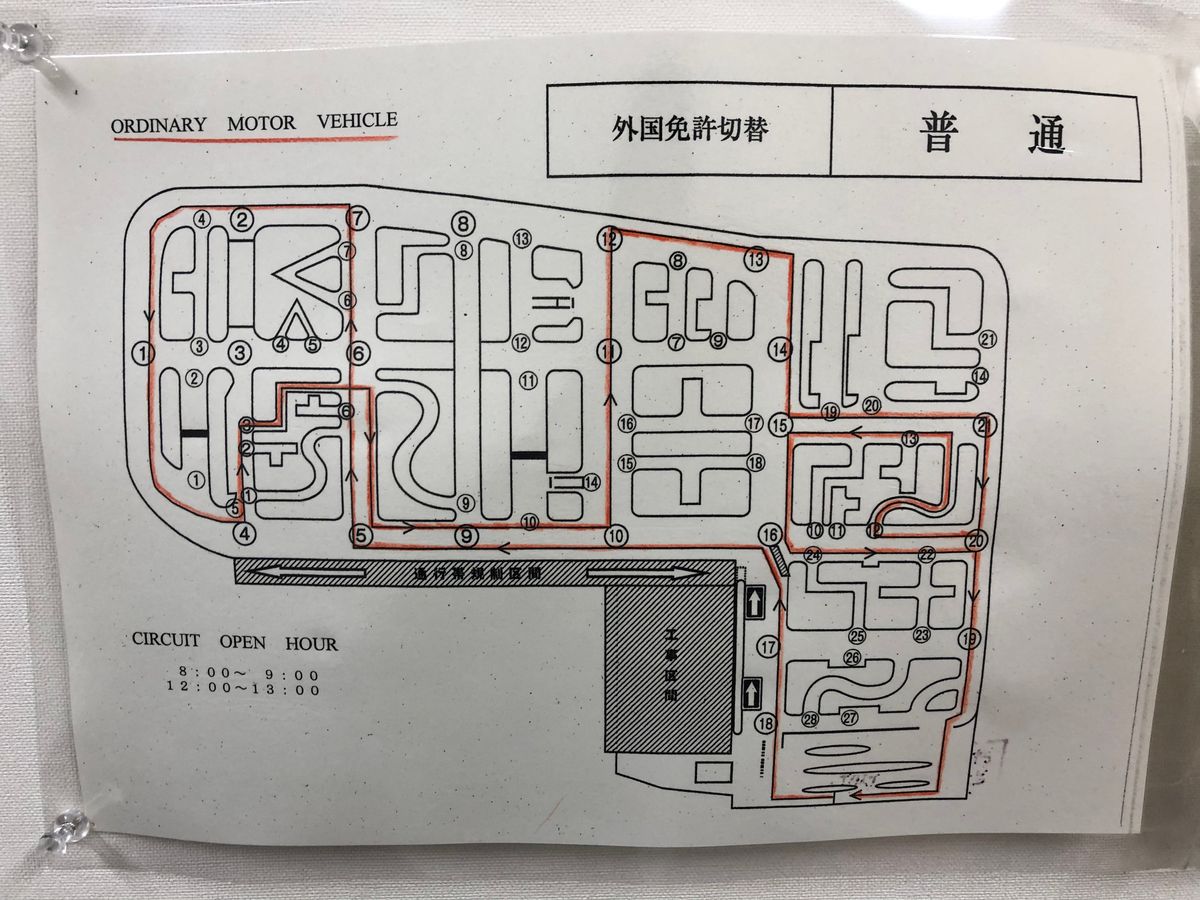
Once you pass your written test, you would then proceed to the practical test. Typically, the practical test would be held on another day. They would explain the details of the practical test, including the route that you'll need to drive on. If you have time, you can walk around the course between 12pm - 1pm to familiarize yourself with the route. When I took the test the course did not include any slopes, which made it a little bit easier...
If your prefecture's Driver's License Center offers driving lessons, I highly recommend that you take it. The lessons are held on the exact same course and in the exact same car that the practical test will be held in, and the instructor will give you useful pointers based on your driving. They offer slots of 50 minutes, and I took 2 slots back to back. Lessons are only held on the weekends as weekdays are for the real practical tests.
During the practice I was very careful, in fact too careful that the instructor said that I need to be more confident. He told me to speed up on straight roads and change my gears more often. Also when making turns, I should go as close as possible to the road curb, making sure no cyclists/motorcyclist can pass on my left. These pointers definitely saved me from another attempt or two.
Step 7: Practical Test
And finally the main event. You'll need to buy a ¥1,450 revenue stamp for the test. You'll be seated in a waiting area until right before your turn. Then, you'll be asked to sit at the back of the car while the person before you undergos his/her practical test. Once the person before you finishes his test then you'll move to the drivers seat while the next person will sit at the back.
Usually you would start off by inspecting the exterior of the vehicle but that didn't seem to be the case for me. Once the examiner confirms your identity, you then start your test by adjusting the seat and mirrors before starting the engine. Each intersection has a sign with a number, and the examiner will guide you through the route by telling you what to do at each intersection.
To pass the practical test, you'll need to have no major mistakes and no more than 2 minor mistakes. If you make too many mistakes, your test might cut short and the examiner would just lead you back to the starting point. You would only know whether you pass the practical test after everyone has completed their practical tests, but based on the examiner's feedback you can probably tell whether you've passed or not.
If you failed the test, you'll be given a new date for your re-test and then you can go home and lick your wounds. If you're not too sad you could save time on your next visit by buying the revenue stamp costing ¥4,000 for your next attempt before going home.
If you passed, congratulations! You'll need to get a ¥2,050 revenue stamp to get your new license issued. You'll then be guided to a room to take a picture for your license. After that you'll set your PIN codes. You'll need to set 2 different 4-digit PIN codes on a terminal. Once completed, a receipt will be printed out with the PIN codes that you've set. Take a picture in case you need it next time.
After waiting for a bit more time, they'll hand out your Japanese driver's license. Make sure your name, date of birth, and address is correct. If all is good, you can go home with your spanking new license. Enjoy! 🥞